Cycling Kits
How to Start Your Own Cycling Clothing Brand!
Nov
If you’re reading this post, you’re probably in the same position I was in a few years ago. That is, you want to start your own Cycling Clothing Brand, but you have no idea where to start! Now, I know what you might be thinking…. Isn’t it a bit counterproductive to start your own cycling clothing brand, then turn around and make your first blog post a “How To” on starting your own cycling clothing brand? Well, perhaps you’re right, but then again, you may be misunderstanding the first rule of branding:
“Your Brand has nothing to do with you, but everything to do with the Value you add to others by way of them establishing a Relationship with you!”
Therefore, this blog is more about building a relationship that adds value than it is about simply selling a product. This takes us to Step 1.
Research: My journey started with research. I began searching on Google using the key phrase “How to start your own cycling clothing company”. I found a number of helpful topics, but none of them spoke specifically to my geographic location. Which of course made some of the information less valuable to me. However, I eventually gathered enough valuable information to realize that while this was an important step, it was not the most important “First Step”.
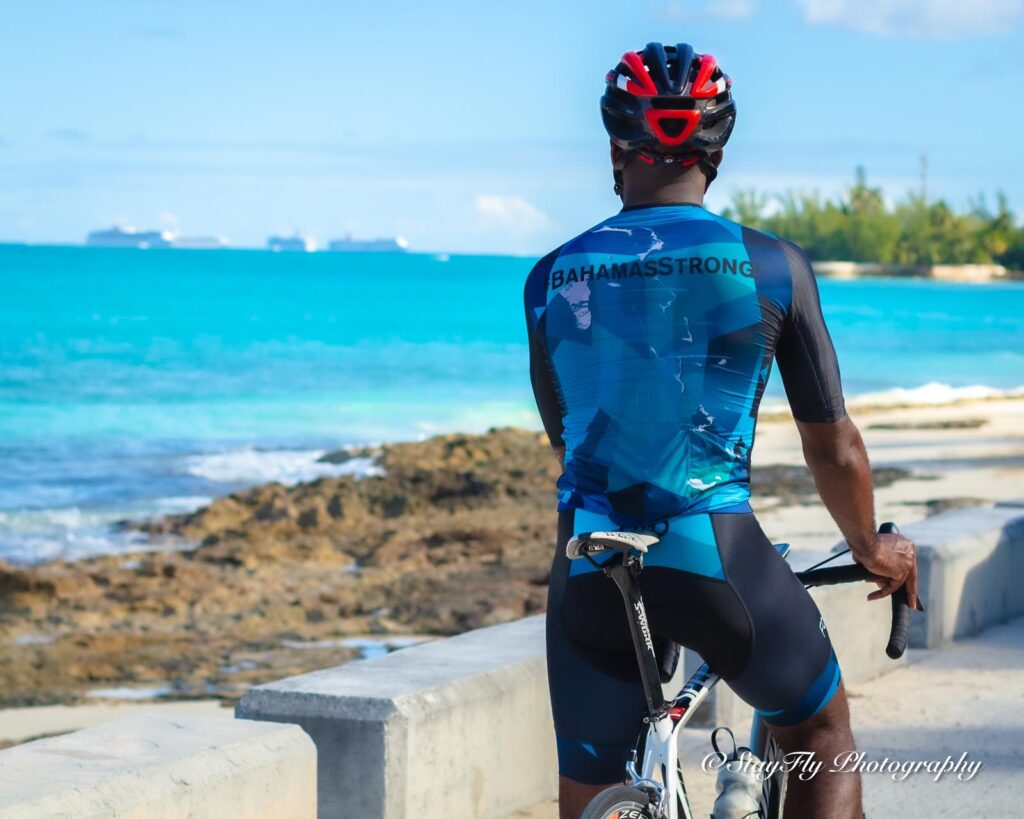
The real question was not, how to start my own cycling clothing company, but who were my customers? Again, I know what you must be thinking, “Cyclists, duh!”. And that was what I thought too, but which group of cyclists was I targeting? Recreational cyclists? Competitive cyclist? Female cyclists? Male Cyclists? Both? Once I decided on a specific group, the next question to determine was what sort of clothing is this group interested in? What cut? What fit? What type of design? What was trending and most popular in the cycling clothing market?
As you can see, so many questions, with so many answers. I was talking about narrowing down and becoming noticed in an expanding market, where the clientele was extremely selective about what they put on their bodies. And where a select number of brands had already established themselves as juggernauts of the industry. How does one compete with that? Well, it’s quite easy actually, “Just Do It”!
I narrowed my market down to Competitive Cyclists, which was a market that as a former National Team Member and a current competitive cyclist, I knew a bit about. Additionally, even most recreational cyclist like to think of themselves as competitive cyclists under the right conditions, so this was a market that I felt provided a lot of flexibility as it allowed me to focus on one market, while potentially dipping into another. This takes us to Step 2.
Design: Once I decided who I was targeting, the next step was design and what I call “Brand Stimulation” a.k.a. my “Brand Name”. Luckily, my Brand Name was an easy decision. CycSport had always been my nickname for cycling, so it came as an easy choice as the name for my brand dedicated to the sport of cycling. However, developing an equally brand stimulating logo came as less of an easy task. For your brand, you can decide how you wish to go about this step. i.e. Whether you wish to design the logo yourself, use a Freelancer or perhaps a type of logo making software like Fiver. For my brand, I decided to create a few simple logos until I came to one that I felt captured the feel I wanted. I also used my audience to help me decide based on the responses I got to my different designs on Facebook.
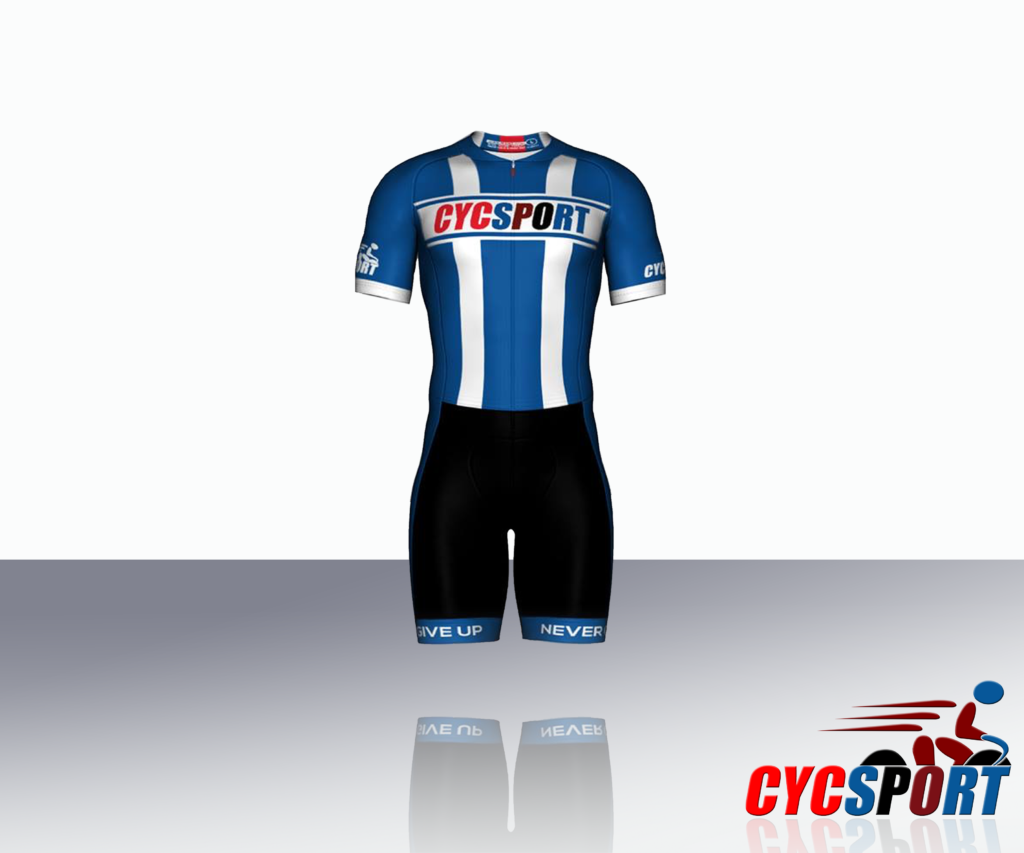
Now that my name and logo were decided upon, the next step in my process was design. I found that the task of creating eye catching designs in a market where there is such a wide variety of designs and an even wider variety of tastes seemed daunting. I wanted designs that fully established my brand, that were sporty, and created the pro feel for my customers without so much of the name splattering that occurs on most pro team uniforms. The problem with this was that the “name splattering” was actually what I loved about cycling kits. However, my research found that many cyclists didn’t want to feel like “rolling billboards” when they put on a jersey. This meant that I had to take a different approach. To do this I worked on a number of designs until I found a few that captured what I wanted and again were met with positive feedback…. Notice that I am already talking about designs and feedback, before even talking about choosing a manufacturer or production. By this point I had already created a Facebook page and had already secured my domain name to begin my website. As such, I was already getting the word out there about my brand. This takes us to Step 3.
Production: As you may have guessed, production includes finding a supplier/manufacture, sample testing and quality control. I wanted my products to be associated with providing quality as well as design. Something that consumers would actually want to buy and show off on the proverbial “New Kit Day!“. This took me back to my first step…. Research!
I now found myself quested with the task of finding the right supplier to produce my clothing. Having designed and ordered a few club jerseys before as well as jerseys for our current national team, I was aware of a few companies that produced custom cycling clothing. As such, I was also aware of the level of quality they produced. However, the issue was that most of the companies I knew that provided the quality that I wanted, required a higher minimum order than I could afford and they all required their branding to be on the clothing. This of course made it difficult to establish my label as a brand on its own.
Through research, I was able to find a few companies that had lower minimums and were willing to offer me samples. They also didn’t require their branding to be on custom clothing. This meant that my brand identity wasn’t diminished by the brand of a known custom cycling apparel manufacturer displayed on my products. However, this produced a new issue. Cut and Fit! If you’re a cyclist, you know exactly what that’s like. We all love our kits to have a specific feel to them and if you’re a competitive cyclist, this becomes even more important as the kits are usually more form fitting. However, by using suppliers I was less familiar with, I had no idea how their kits fit, which meant I had to order a wider range of sizes to be able to provide accurate sizing information if I received any inquires…. And as you may have guessed, inquiries did come!
During this process, I actually took a few bumps and hits, and I also spent a bit of money, but I managed to get through it relatively unscathed. In the end I managed to find two companies I liked and one in particular, that provided the high end quality I was looking for and the level of customer service and communication that made the creative process easy! If you’ve been paying attention, you know this takes us to Step 4.
Marketing & Sales: Now when you hear sales, you may think that we’re at the final step, but we’re not actually there yet. Now that we’ve found our target market, decided on a brand, made up our designs and decided on our supplier, we now have to find a way to let our market know about us and a sales channel to actually make our product available to them. More importantly, a payment portal to make their funds available to us!
There are many ways to market your products and get the word out there. Facebook, Instagram, YouTube, and Tik Tok are all good platforms. It’s really all about producing content that’s appealing to your consumer. The content you produce becomes a brand stimulant and gives your target audience a preconceived idea of the quality of your clothing. This in turn creates interest. Once their interest is peaked, you then require a sales channel through which they can interact with and if you’re lucky, purchase your products. That’s where your website comes in. There are a number of platforms out there for this. I chose GoDaddy because it was the platform that I was most familiar with, but you can do your research and choose the web host that works best for you.
Once your customer has decided to purchase, you will then need a payment portal through which they can pay you. Again, there are many of these out there that can be attached to your website. Again, my choice was made based on familiarity. Here, you may also want to consider your region or the region of your potential customers. Certain payment systems are less popular in certain regions and consumers are less likely to trust their money to payment options they are unfamiliar with. Whether we like it or not, familiarity breeds trust. So choosing a payment method that is more well known would be the ideal choice. Again, I chose PayPal based on my familiarity with the portal.
Finally, with your payment system, you’ll also want to be sure to choose one that allows you to easily transfer your money to your bank account or credit card. And one that has minimal fees as all of this will determine your costs, which will impact your profit, which as you may have guessed will determine your pricing.
At this point, I’m thinking I probably should have discussed pricing earlier, but really and truly, pricing is something that the market determines. To an extent it is also something you can manipulate based on strategy, but ultimately, your price has to match the value you are providing to the consumer.
Now that we’ve discussed marketing and your customer has finally purchased your product, we’re finally at the portion of this post where I say, “This takes us to Step 5”.
Fulfillment: This is the part of the experience where the product is actually packed, shipped and delivered to the customer. Fulfillment services receive your products from your supplier, store them and then package and ship them whenever you receive orders on your website. Fulfillment is perhaps the most important part of the customer’s buying experience as it’s the part of the experience where the customer actually receives what they paid for. If every other part of their experience was exceptional, but the customer doesn’t receive your product or it doesn’t arrive in the time promised, this could ruin the entire customer experience.
Despite its importance, it’s also the part of the blog that I’m going to spend the least amount of time on. There are a number of fulfillment services out there that you can research and this is a service that is truly personal to your business and what works best for you. So I’ll allow you to do the research and perhaps elaborate more on this in a later post.
By this point, you’ve already established how to start your own cycling clothing brand. You’ve probably also decided whether or not it’s something you want to do. If you’re like me and you’ve decided to take the plunge, then send me a message at [email protected] asking any questions you may have or just to let me know if this post was any help and how your journey is going thus far! And if you’d like to follow my journey, you can follow me on Instagram via @cycsportapparel or on Facebook by following CycSport Cycling Apparel.
Until next time…. RIDE HARDER!!